Monday, February 28, 2011

Simple Happy Birthday Card

Hi everyone! I am sorry I have not posted this week, but I have been really sick :( I had a birthday party to go to last minute yesterday so I put together this card. I didn't even have time to pull out my cricut, so I just did it freehand! (sorry in advance the pictures are from my iphone)

Front of card

Inside of card - Happy Birthday stamp is from Pink by Design Scripted Year 

Back of Card - stamp is from Pink By Design scrapped by you set

Envelope


Items used:
  • Card base
  • striped paper cut to fit front of card
  • Pink swirl paper cut at 4.5 x 3.5 inches
  • "Happy Birthday" paper cut at 3 x 2 
  • Twine from Pink by Design
  • Stickers from stash to spell "Emily"
  • Red and black ink
  • "Happy birthday" and "made especially for you" stamps from Pink by design
  • Black jelly pen
  • Distressing ink
  • Foam squares
  • ATG gun
I cut the striped paper to fit the front of the card and attached it with my ATG gun. I then cut the pink paper and inked the edges and adhered it to the front of the card, I also cut the "Happy Birthday" paper and used a corner rounder on the edges. I used foam squares to adhere it to the front of the card to give some definition. Before securing it I tied the twine around the card. On the inside I hand wrote "I hope you have a very" and then stamped "Happy Birthday". For the front of the envelope I used some stickers from my stash to spell our Emily on the front.

I hope you like this very easy card! I hope to start feeling better this week and pull our the Cricut to make up some new projects!  

Tuesday, February 22, 2011

It's your day!

This past weekend my oldest niece Kaylee turned the big 18! I can't believe that she is already an "adult"! I made the following card for her!
Front of card
 inside of card
 Envelope
 2nd take at inside of card - I needed a place to tuck the cash that we were giving her as a present, so I added this little piece of cardstock to make a pocket.
 Inside with cash!


Items used:
  • Card base
  • Celebrations Cricut Cartridge
  • 6 flower brads
  • black card-stock - cut to fit front of card base
  • Star paper from "The Paper Studio" Celebrations stack 
  • Stripe paper and "Celebrate" paper from Fancy pants design "It's your Day" collection 
  • Distressing ink
  • pop dots 
  • adhesive
I started by cutting the black card-stock to fit the front of  the card base. I then cut the "It's your day" at 5 1/2 inches on the star paper. After attaching both of these to the front of the card, it just looked to plain to me so I added the flower brads to give it some added color!

Next came the inside of the card. I pulled out all sorts of stuff from my different collections, and nothing was looking all that great. I then remember I had this wonderful birthday scrapbook kit tucked away. I pulled it out and just knew right away that I had found the perfect pieces to go on the inside! I cut the stripe piece of paper to fit width across the card, It was already cut to the height from a previous project. Before attaching to the card I inked it with distressing ink . The "Celebrate" card is from a sheet that has 12 different cut-outs (I am having a hard time describing this page, but I am sure that you all know what I am talking about! It is a 12x12 page that has 4 across and 3 down. Some have journal lines, and some have sayings like this one.)  After cutting it out, I also inked it with the distressing ink and attached it with pop dots.

I was then just going to put the cash laying inside the card, but didn't really like that idea. Then came the idea to add some color to the other side. I had some left over star paper and attached it to make a pocket to hold the money!

Hope you enjoyed this card!

Saturday, February 19, 2011

Callentines Day Card

Hi all! This past week my good friend Megan and her family had the 1 year anniversary of her brothers death. He died on Valentines Day last year in a snowboarding accident. Because of him passing away on Valentines Day, they have chosen to re-name the day "Callentines Day" in his honor. I made the following card for her:


Front of card

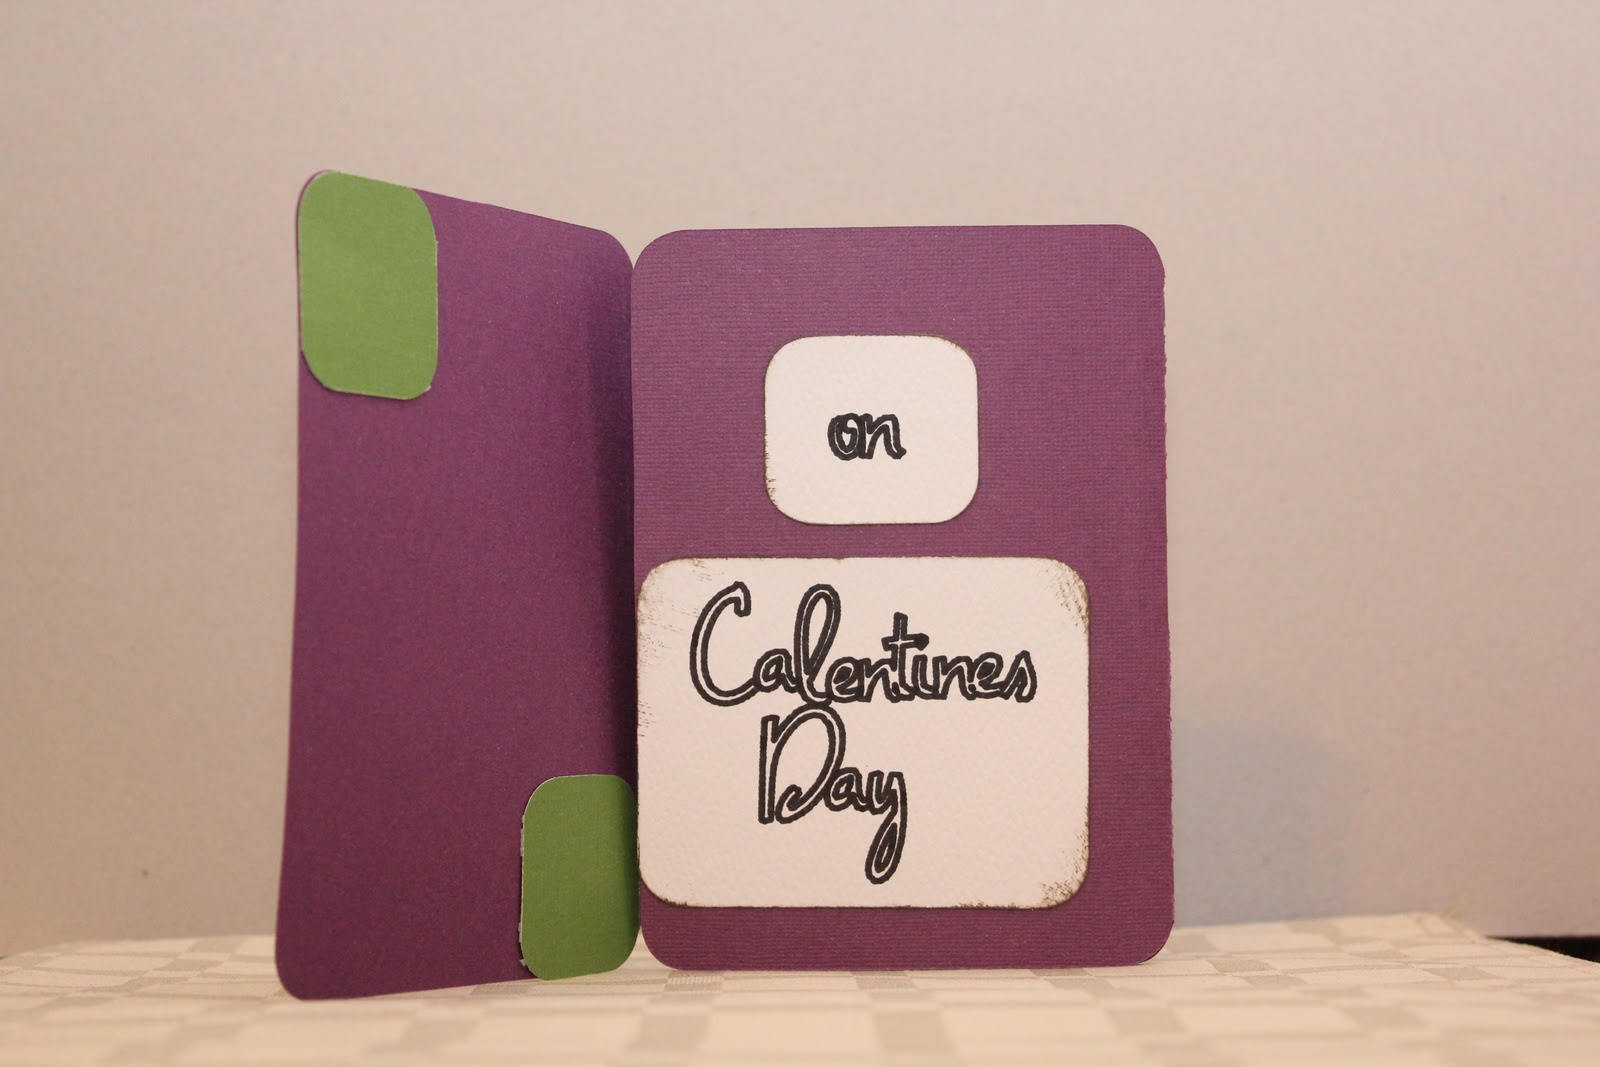
Inside 1st flap - I used a black marker for my Cricut and welded the letters together with Design Studio. I then inked the edges with distressing ink.
 Inside card
 Top stamp - Pink by Design Sympathy set
 Second stamp also from Pink by Design Sympathy set
 Back of card - stamp from Pink by Design Handmade by You set

 Front of Envelope - I had this flower left over from making my sons valentines cards - this was one of my sample flowers that I cut to big for his project. I inked the edges with some silver ink by ink box.
 Back of envelope
Items used:
  • Wild Card Cartridge 
  • Purple and green and white card stock
  • Cricut black marker 
  • adhesive
  • stamps
  • ink
I cut the card and envelope at 6 inches (I had to use 12 by 24 paper) and was able to get both to fit onto one page.


I then made my "Calentines Day" design with Design Studio and then had it drawn on the white card stock. Before attaching the saying to the card, I inked the edges with distressing ink.

I cut out the "I'm thinking of you" from Wild Card at 3 inches I believe (I can't remember, and I didn't right it down...sorry)

I used white ink to stamp the sayings into the card to make them stand out. I wanted this card to be really simple and supportive.

Friday, February 18, 2011

Hoo's having a Birthday?

Last weekend my son had a birthday party to go to for one off the kids in our mom and toddler group! Since I don't have any girls, I just love being able to make girl stuff (as well as buy girl clothes and toys!!) I have really been loving my Hoot 'n' Holler cartridge and came up with this card: 

Front:

Close up of Owl
Close up of layered saying
Inside of card - stamped with Pink by Design "Happy Birthday" stamp from Scripted Year set
3-d with popdot
Front and inside view

Materials used:
  • Card base
  • printed pink paper
  • Black, light pink, bright pink, purple cardstock
  • stickels
  • Twine in pink and yellow (from Pink by Design!)
  • Popdots (I have foam ones from the dollar bins at Target!)
  • Journal page
  • Pink ribbon 
  • Happy Birthday stamp
  • Circle punch (I didn't have one big enough so I traced one out and hand cut it)
  • Hoot 'n' Holler cartridge
I cut the pink printed paper to fit the front of the card and attached it. I then cut the "Woo's having a birthday" saying at 3 inches, and the owl at 2 inches.

After assembling the layers, I attached them to the card front. I also attached the twine at this time as well! (This was my first project using the twine!)

I then attached the Journal page to the inside of the card, and attached the circle with the stamped "Happy Birthday" sentiment to the center using a pop-dot. I also added a strip of pink ribbon to the bottom of the journal page from my stash of ribbon to cover the edge of the page.

I hope you enjoyed this card as much as I did!

Tuesday, February 15, 2011

And the winner is.....

I used Random.org to generate the winner.....

Comment #14 -
Janice W. said...
Your son is a little cutie! Your card is cute too!

Saturday, February 12, 2011

Card Cupids Appreciation Blog Tour!

Welcome to the Card Cupids Appreciation Blog Tour!  


If you have just hopped on the tour, please go to the first stop Card Cupids (www.cardcupids.org/blog).  If you have arrived from Amy then you are in the right place. Thanks for stopping by! 

Card Cupids mission is to provide encouragement and joy by sending Card Cuddle Care Packages to children who are facing difficult challenges in their young lives regardless of their economic background. Card Cupids believes that every child needs to know that they are loved. A stuffed animal to hold, along with cards that share a positive message can help lift the spirits of children that are faced with difficult challenges. Card Cupids collects handmade cards to be sent to children along with new stuffed animals, coloring books, activity books, crayons and markers. Card Cupids hopes to provide numerous Card Cuddle Care Packages to children in hospitals, foster care, homeless shelters as well as children facing difficulties.


Our Blog Tour theme today is Valentine’s projects for children.

I decided to use my sons valentines as my project! He has a party at daycare and we had a valentines swap for my moms group. :) 


Items used: 
  • Wild Card cartridge
  • Cricut 12x24 paper in Purple and green
  • The Paper Studio bright pink 12 x 12 
  • Adhesive (lots!)
  • 3-d foam adhesive
  • 5 1/2 x 8 inch white cardstock cards cut in the score line 
  • Martha Stewart corner heart design punch
  • Red Color Box ink
  • "Happy Valentines Day" stamp ($1 from Michaels dollar bins) 
I started by using the my purple cricut 12 x 24 paper to cut 24 - 3 inch <Monsters> in the liner layer.
I then cut 24 - 3 inch faces in the icon layer using the cricut 12 x 24 inch paper cut down to 12 x 12. 
I also cut 24 flowers on the green paper at 3 inches on the layer +shift setting.
I then cut 24 - 3 inch flowers in pink, as well as 24 - 3inch hearts on the frame layer.
I cut the phrase "I like you" at 4 inches on the green paper. 


Here is my son helping me take the sayings off the cutting mat!


Once everything was cut out and off the cutting mats....


I cut the stems off the pink flowers in order to layer them onto the green stem. I used 2 foam dots to attach them to give some pop! 


I then attached the green face to the purple body using 4 foam dots...

And used one foam dot to attach the pink heart.


I then took my white cards that had been cut on the score line and punched the corners with my heart punch. 
I then attached the monster, flower, and "I like you" Phrase to my card. 
Then once all were assembled, I stamped the back side with "Happy Valentines Day"

I hope you enjoyed my project! 


Blog Candy time!!!

I am offering a $10 gift card to either www.pinkbydesignstore.com or http://www.peachykeenstamps.com/! The winner will choose what online store s/he would like it for and I will have it emailed to you!
  1. To enter become a follower and leave me a comment!
  2.  Like my facebook page and leave me a separate comment that you have done this! 
Each person can have up to 2 entries! 
    I will use random.org on Tuesday, February 15th to pick a winner. Please make sure to leave a email address for me to contact the winner. :)  

    Thanks for stopping by today! The secret word from my stop is Card.  Remember, to win the Blog Tour prize you have to email the secret sentences to info@cardcupids.org by 11:59 pm February 14 with subject: Blog Tour Prize.

    Card Cupids is collecting handmade cards, new stuffed animals, coloring/activity books, crayons and markers for Absolutely Incredible Kids Day on March 15 as well as cards for Kate and Christopher and their siblings.  If you would like to donate handmade cards or care package items, please visit Card Cupids (www.cardcupids.org) for more information.

    Now hop back on the tour bus to visit your next stop Jenn at www.scraphappensembellishit.blogspot.com. Come back and visit real soon!

    Here is the list of blogs if you loose your way!

    Card Cupids - www.cardcupids.org/blog
    Stephanie - http://bzbcreates.blogspot.com
    Radwa - http://stepstowalk.blogspot.com/
    Jade - http://www.thescrapyardrose.com/ -
    Christy - http://hobbyhopping.blogspot.com/
    Angela - http://pumpkinbutts.blogspot.com/
    Heather - http://franklintngirl.blogspot.com/
    Janel - http://thescrappylifeofmine.blogspot.com/
    Janet - http://paperhoot.blogspot.com/
    Luisa - http://www.creativedesignsbyluisa.com/
    Karen-  http://karenismyangel.blogspot.com/
    Corina -  www.ScrapbookingInk.com
    Sarah  - 
    http://plainandfancypapercrafts.blogspot.com/
    Amy  - http://amycreates.blogspot.com/
    ** This is me! Samantha- 
    http://samanthascricutcreations.blogspot.com/
    ** This is your next stop! Jenn -  www.scraphappensembellishit.blogspot.com
    Tameko -
    www.creatingmypeace.com
    Saskia - 
    http://lusaro-snippers.blogspot.com
    Janice -  http://stampingwithjanice.blogspot.com/
    Diane-  http://DianesDigitalDesigns.Blogspot.com/


    Tuesday, February 8, 2011

    Happy Birthday - cash or gift card holder

    Hi! This past weekend a good friend of ours celebrated his 25th birthday! I made this card for him. :)

    This card is cut from Wild Card at 6 inches. It is an all-in-one type card, meant to be used to hold cash or gift card. 

    Front (I cut the Happy Birthday at 5 inches)
    I also stamped the front with a peachy keen stamp! (I just love them!)

     I cut the "Happy $hopping" at 6 inches
     Back of card - I had cut out a money sign to put back here, 
    but ended up taking it off as I thought that it looked weird.
     Card with money inside!

    Saturday, February 5, 2011

    Cupcake tags

    Hi everyone! I have not been able to get very much crafting done this week due to my son still being sick, and him getting me sick :( I was however able to get these cupcake tags made! Today we were scheduled to go to a valentines day play date and I was going to bring the cupcakes! Since Jacob is sick we can't go, but my friend Jennifer said that she would pick up my cupcakes and take them since I had already baked them!

    Backs of tags
     attaching toothpick
     hearts together with toothpick in the middle
     Pile of tags and ingredient card 
     Close up of tags :) I used peachy keen stamps :)

     Tags in the cupcakes!

     Close up!
     The red hearts on the cupcakes are made from fondant. :)
    The front hearts (light pink) were cut using Lyrical letters on the Connected layer and at 6 3/4 inches.
    The back hearts (dark pink) were cut using Lyrical letters on the Connected layer at 7 inches.
    I used foam squares to adhere the hearts together and also to attach the toothpick. 
    I inked the edges of the light pink hearts with a wisteria color ink from my color box ink.

    I had a contest that I was going to enter these tags into for a non-card valentines day project, but I am having issues finding what blog it was on! Once I find it I will enter it in!

    I finally found the contest that I wanted to enter this into! It is from Crafting with Christina! The contest is to create a valentines day creation that is NOT a card!

    Wednesday, February 2, 2011

    Guess who loves you?

    This past weekend I worked on valentines day cards for family. I made this one for Jacob to give to my mother-in-law!


    • I used a standard 6.5 x 11 (when folded) card. 
    • I cut the "Guess who loves you" saying from Hoot 'n' Holler at approximately 3 inches (sorry I forgot to mark down the exact size as I use design studio to size my cutouts.) 
    • I cut the Owl <Owl1> from Hoot 'n' Holler as well at approximately 3 inches.
    • After adhering the pieces together, I took stickles and went over the guess, love, you words as well as the black flower part on the owl. 
    • To make the Owl stand out, I took as small paperclip and straightened it out, then curled it around my finger, and secured it with adhesive.
    • I then stamped the inside with a put together word set! 
    I hope you like it! I am entering this into a card contest on Card Cupids blog! 
    Related Posts Plugin for WordPress, Blogger...